Media Control V0

I love Tactile Inputs. My entire childhood was spent playing with “dumb” phones, Blackberrys, and telephones. The first media player I owned was a Sony Walkman B Series, with it’s crisp twist dial for changing songs, and the play/pause button that your hand could not miss. So to say I’m a bit dissapointed by the development of display-first UIs for every device in existence (including your car), would be an understatement.
That’s why devices like the (sadly discontinued) Spotify Car Thing, and the Pioneer SXT-C10PS with its retro-functional design intrigue me a lot. But as it stands, Spotify isn’t my music app of choice, and I don’t currently own my own car to install the Pioneer, yet I’d still love to have physical control over my media. So time to put my Electrical and Computer Engineering degree to use right?
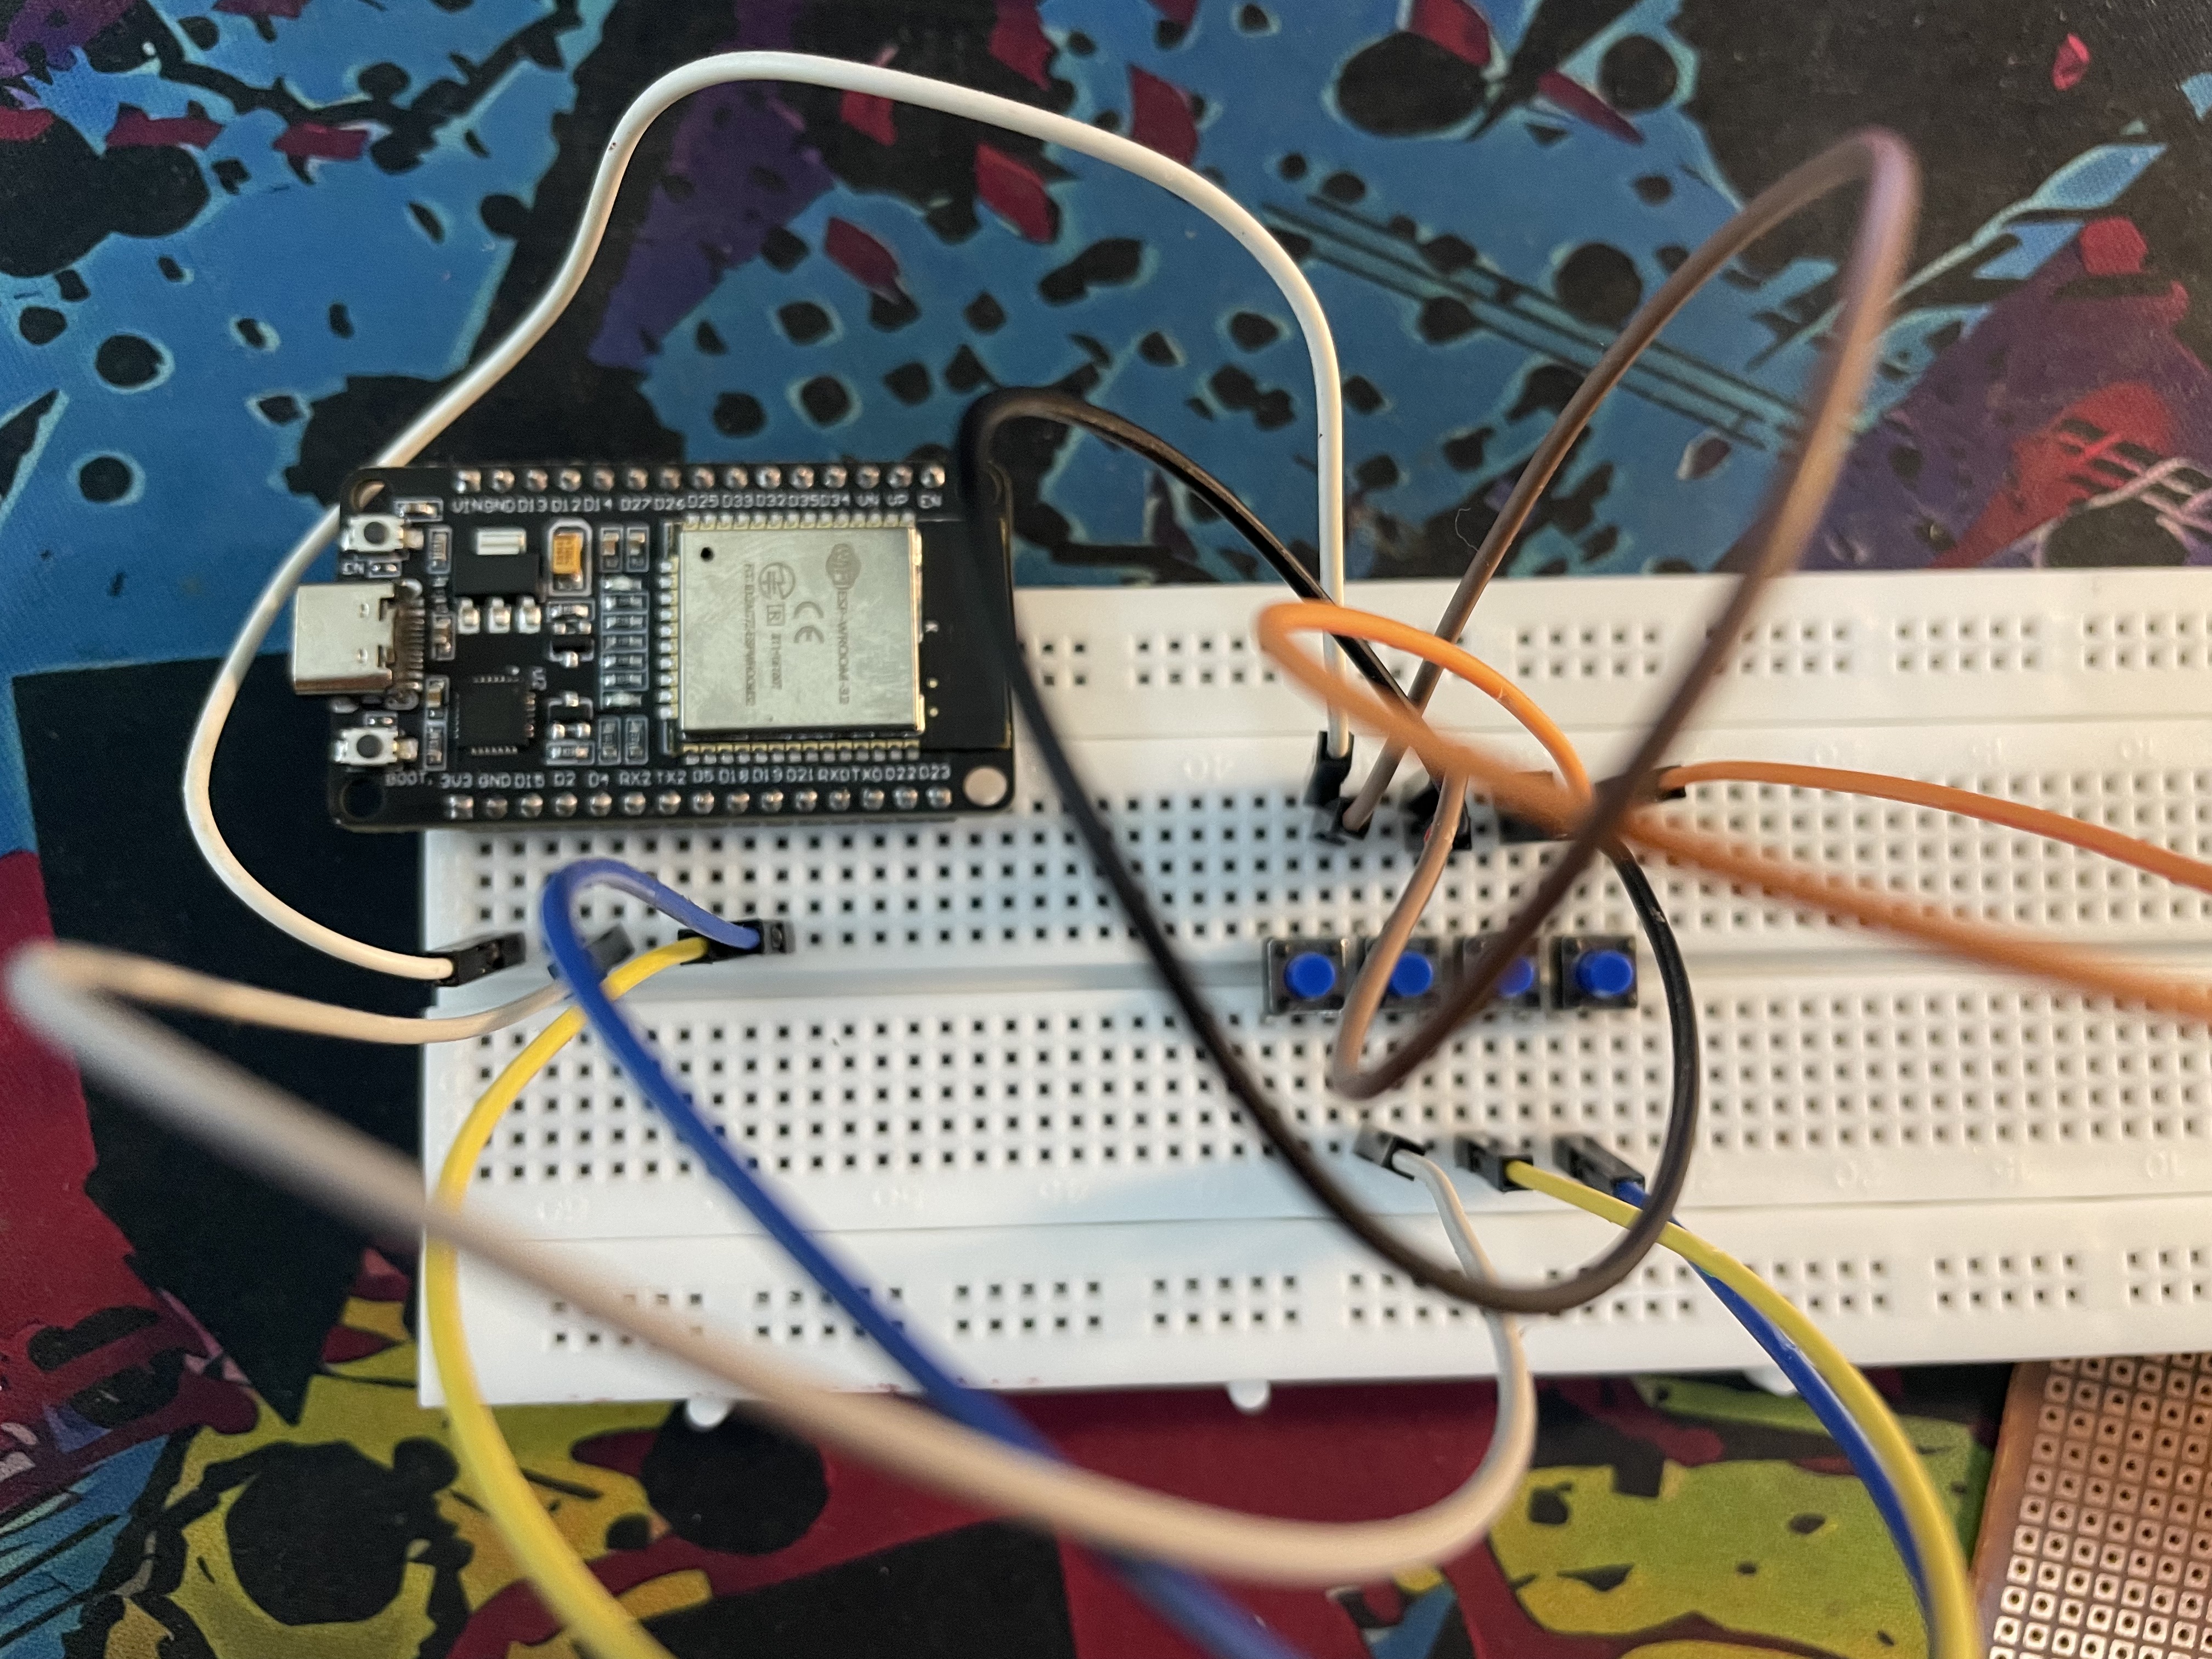
The four button breadboard circuit worked!
Breadboard prototypes should always be step 1#
So after rummaging through my tiny box of electronics, I found an ESP32 development board, a few buttons, and my fire-hazard soldering iron (FHSI). A short tangent on the soldering iron. The FHSI cost me a singular US Dollar to purchase, has no fuse, or temperature control or any other form of safety device. And it never reaches a temperature that properly melts solder, so all in all, perfectly fit for projects like these. (Yes I’m working on acquiring a better iron, but for now the fire-hazard jokes will suffice).
So with these parts on a breadboard I set off to actually research my problem. The first step was reflashing that ESP32 with the default firmware (fixing my earlier mistake of installing MicroPython). Very quickly, I stumbled upon the ESP32 BLE Keyboard library, and it looked perfect. Within 10 minutes, I had the whole thing set up, with the microcontroller talking to my laptop perfectly, and the buttons all performing their functions. Though, this was still all on the breadboard. Time to move it to its own circuit.
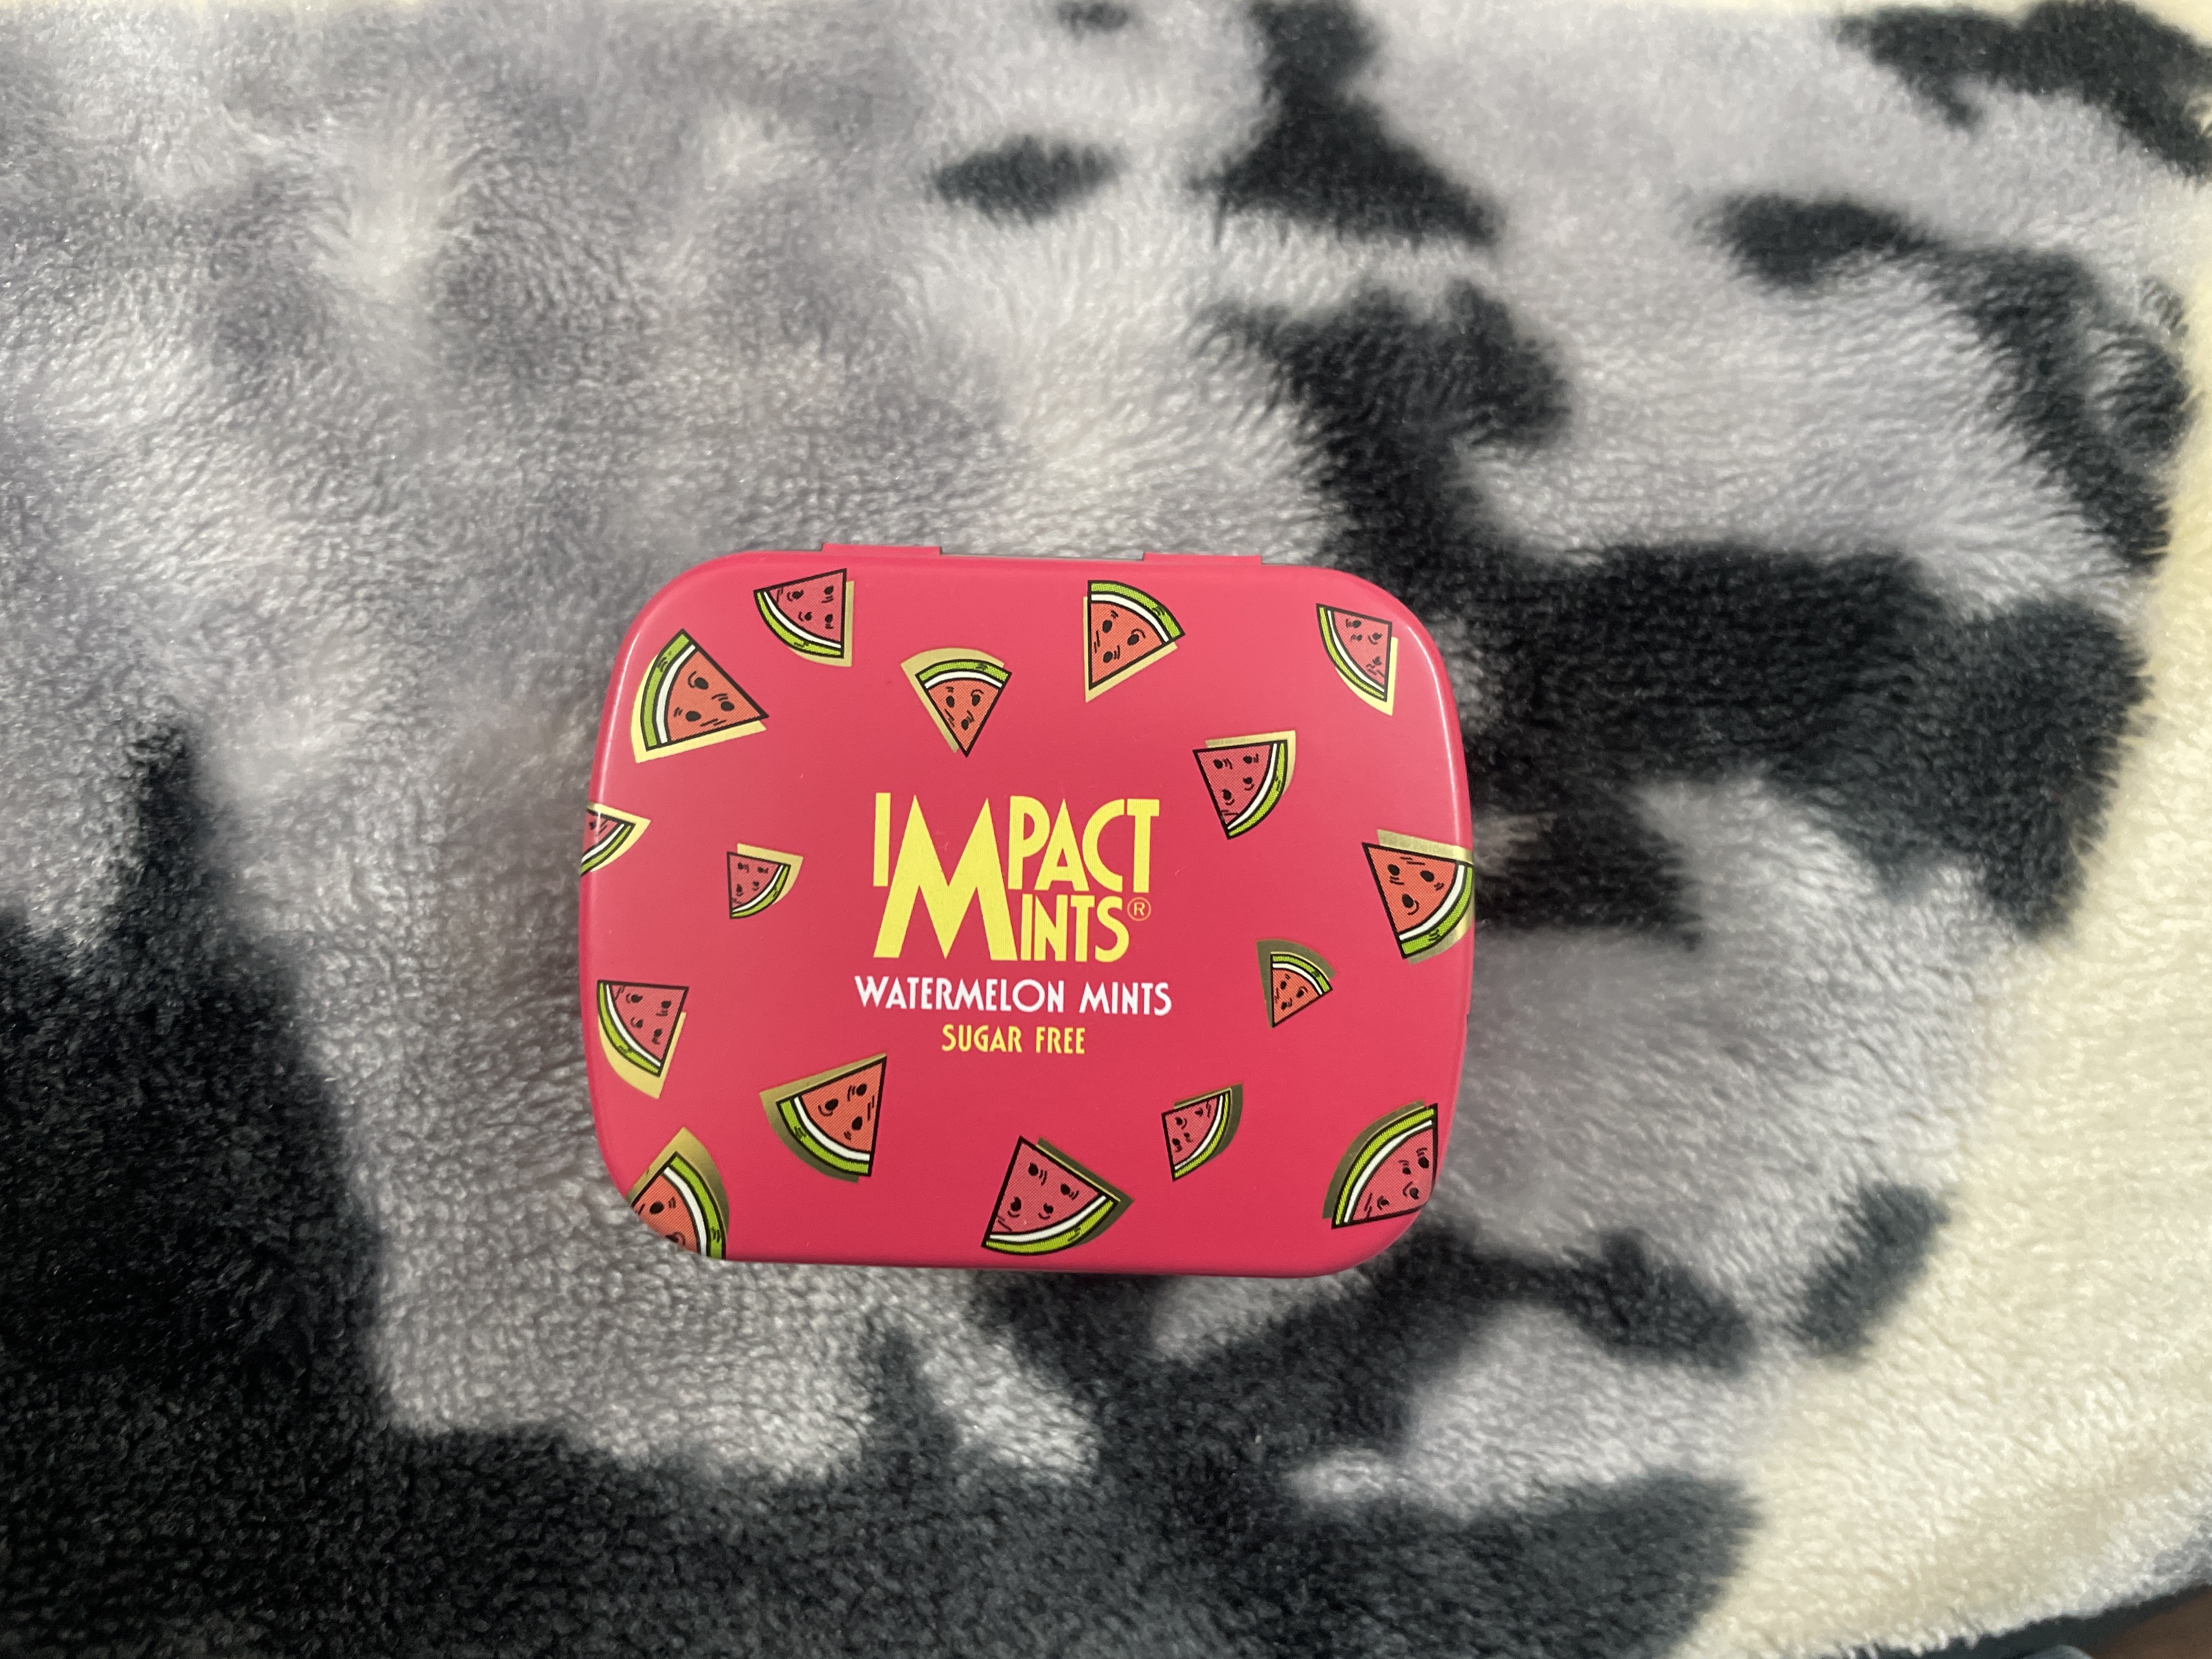
Impact mints really make a good ESP32 case. (This one’s watermelon)
Impact Mints—The perfectly sized box for micro-projects#
Before we do that though, I should explain the case I will be using for this and many future projects. I first bought a box of Impact mints when my usual 5Gum pack was out of stock. And the box was surpisingly well built, pointing to future utility beyond just mints. While Altoid tins are the container of choice for EDC kits, the Impacts are much more compact. In fact in dimensions they fit the ESP32 nearly perfectly, making them the obvious choice for such projects.
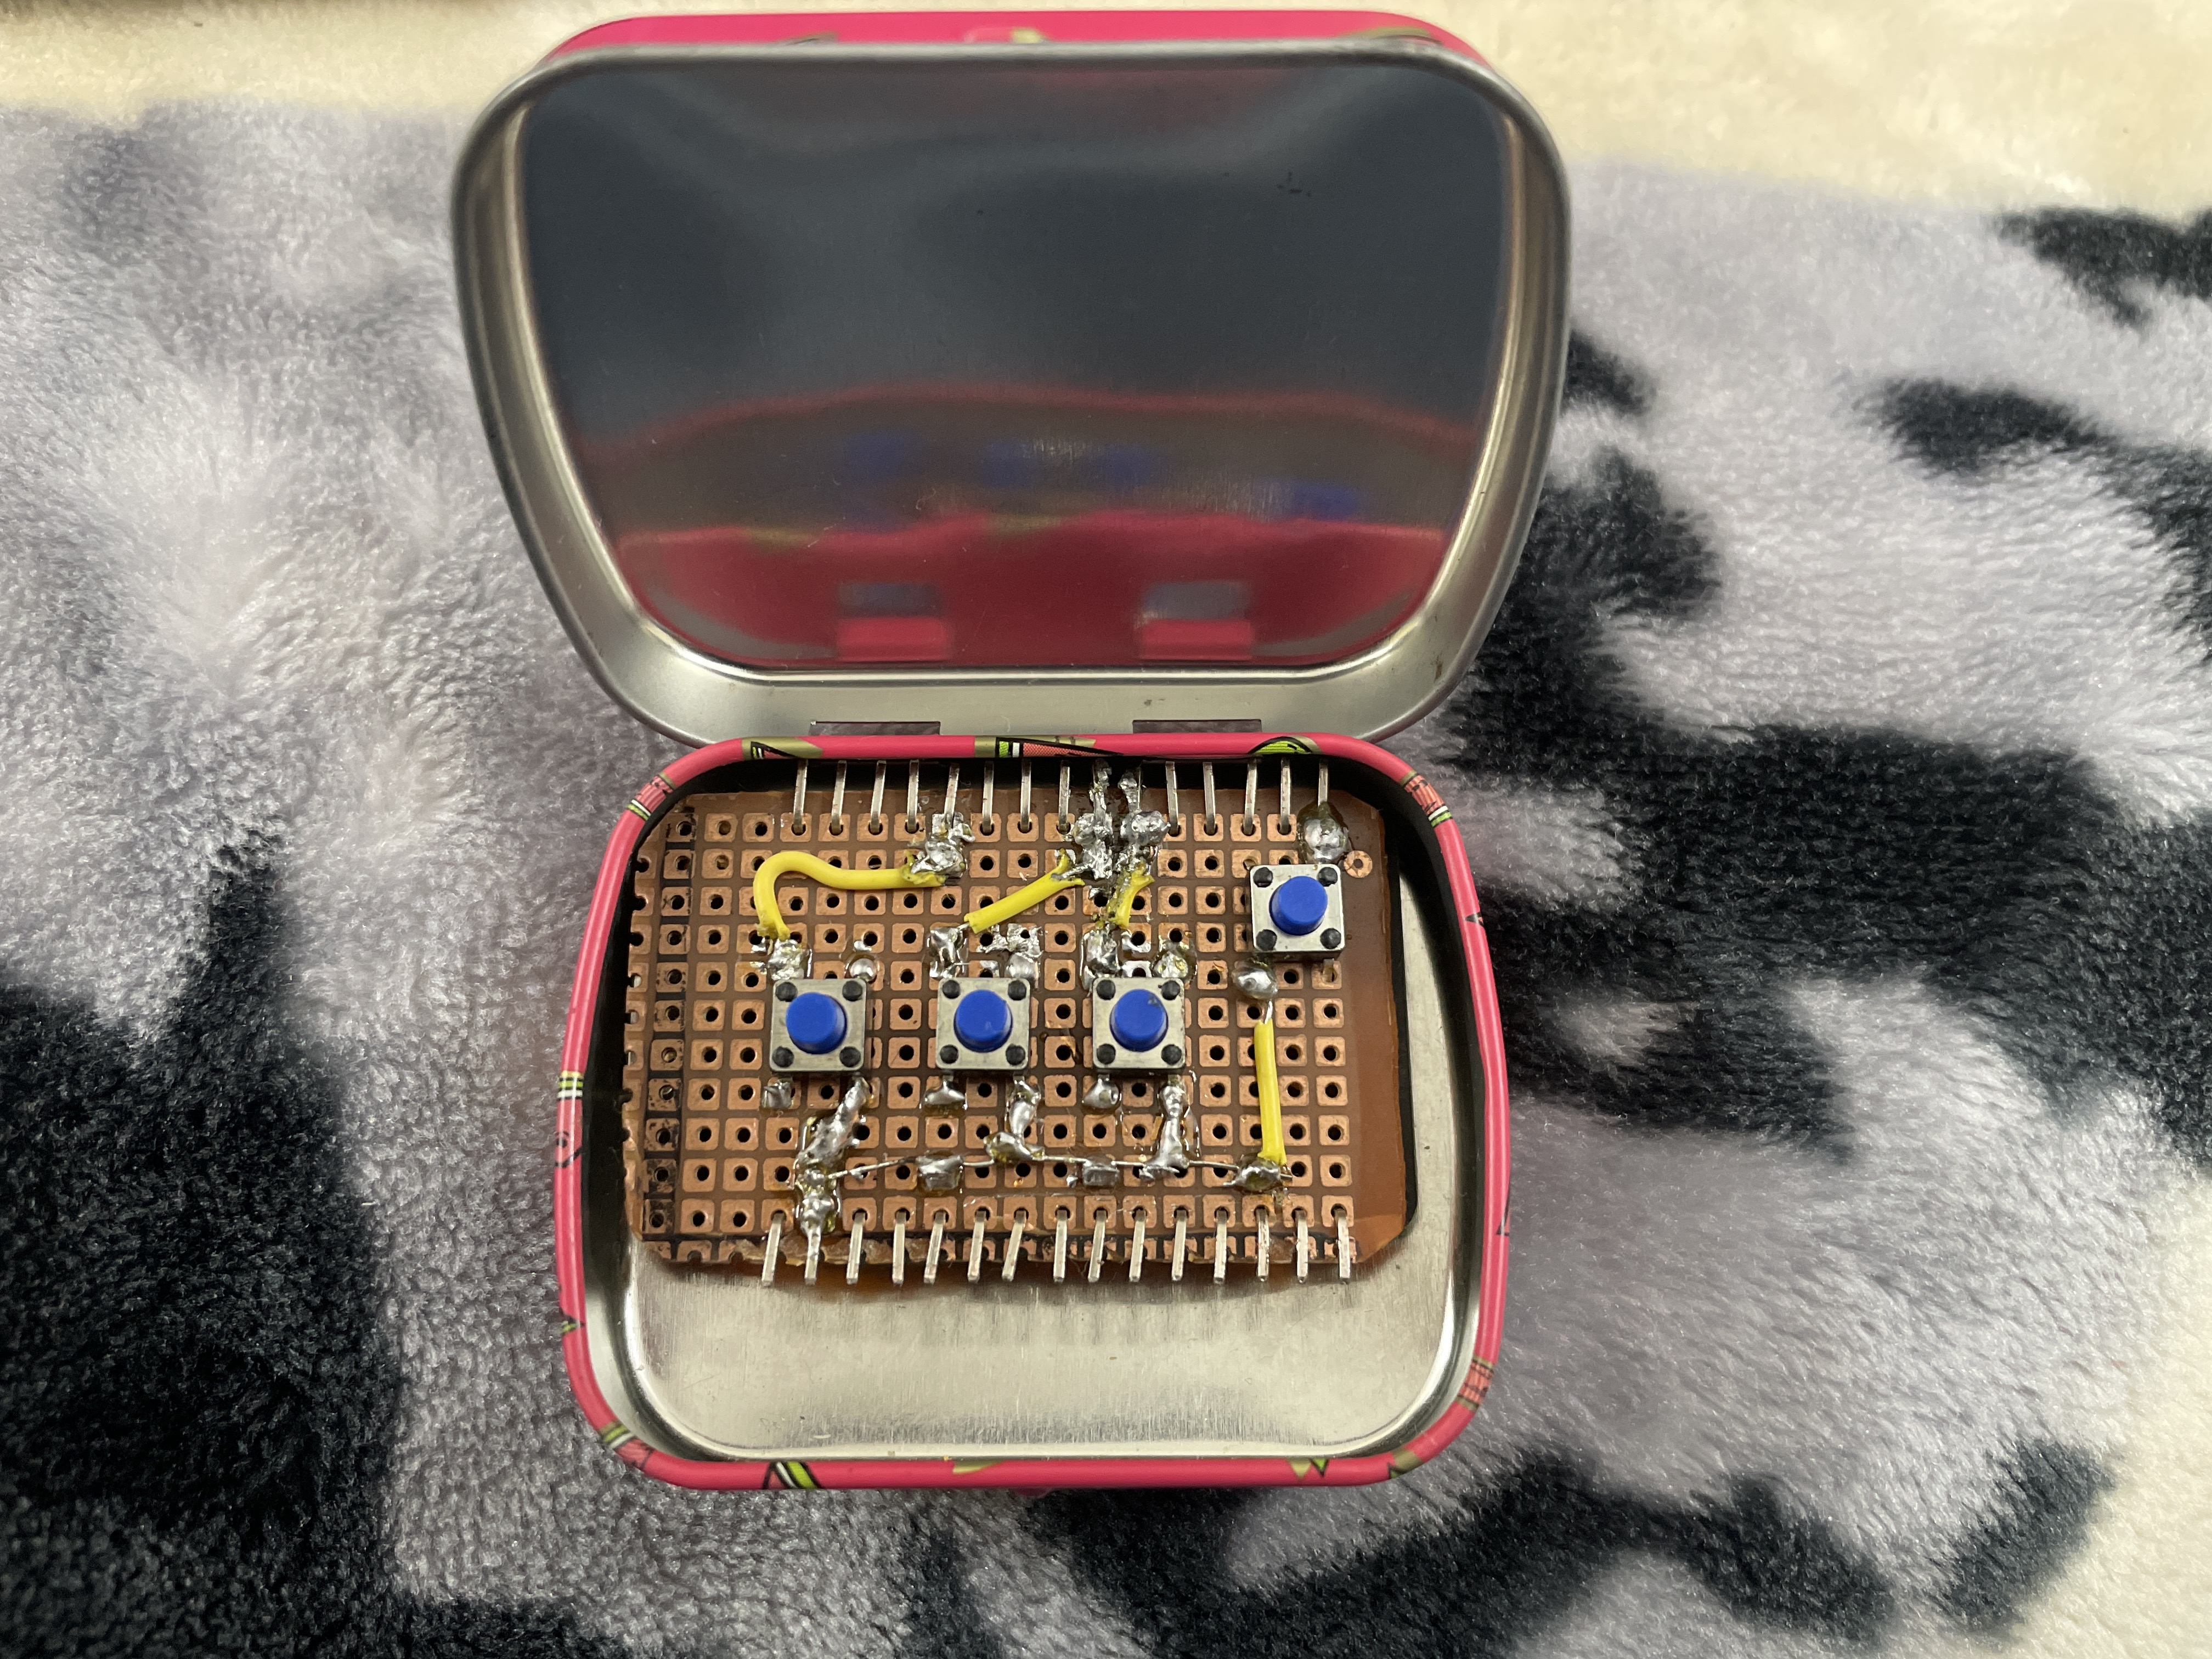
But the minutive size also means I couldn’t really have the circuit take any space beyond the ESP32 itself. Thus giving rise to this cursed sandwich. The ESP32 forms the based layer, with its header pins keeping it attached to the circuitboard which contains the buttons. The buttons then connect to their respective GPIO pins using simple wires soldered from the buttons to the pins. (I definitely should have used better pin assignments to prevent the snaking wires.)

That missing button was the first update needed to the board.
Multiple Mistakes for V0#
With bated breath, I connected the circuit to my PC, and started the serial monitor. No luck. Not a single button worked. Luckily, this is not my first rodeo, and I knew that I had probably messed up a solder joint somewhere. And testing the circuit with a jumper cable simulating the buttons proved that hunch correct. Turns out the ground wire wasn’t fully connected to the ESP’s pin, needing a quick touch-up with the FHSI. That got the circuit back up to the breadboard level, and was good enough for me to call a night.
The next day I tried using the media controller again, and found a fatal flaw. If you look back at the breadboard version of the circuit, you might see four buttons, but on the V0 circuit, there’s just three. That’s because I couldnt’t remember the function for the fourth button while writing the code, and ended up dropping it all together. Turns out that was the pairing button, an essential in every Bluetooth device. So that spawned V0.1, with a pairing button added. This button simply clears the device’s paired devices memory when pressed for three seconds.
All done, for now.
Future of the Media Control project#
As the first electronics project I’ve completed I’m quite happy with how it turned out. But there’s obviously some things left to work on. First and foremost, this needs a battery. 3.3 volts in such a tiny package is realistically only possible by using LiPo batteries. And I have already ordered one, alongside the required charging circuit. In the future I’d also love to add AVRCP Metadata access for the ESP32, with a small OLED display to show the currently playing media. But all that won’t be happening with the current circuit, all V1 will get is the battery to allow wireless on-the-go usage.